DIY Shiplap Cutting Board Rack
*Disclaimer: This post contains affiliate links. If you choose to make a purchase using one of my affiliate links, I will make a commission at no additional cost to you. Thank you for your support!
After building our kitchen cabinets up to the ceiling, we were left with this awkward gap on the wall where the kitchen ends and the dining room begins. I knew I wanted to put something there to help the two spaces flow together more naturally…something that was functional, but wouldn’t stick out into the walkway around our table.
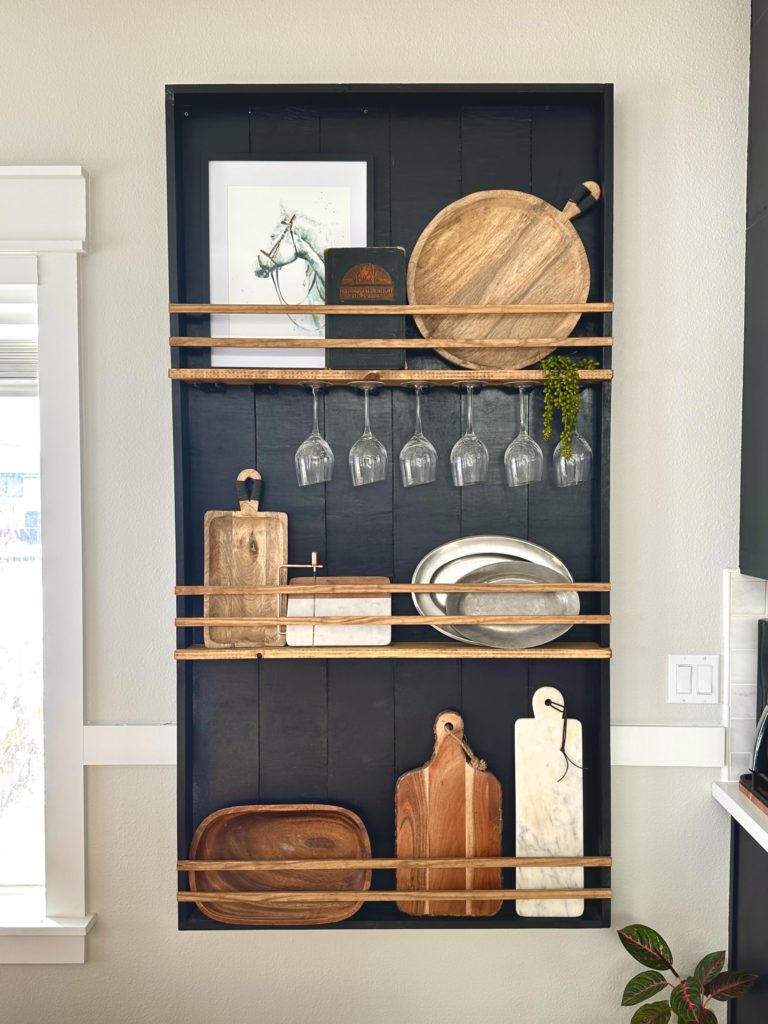
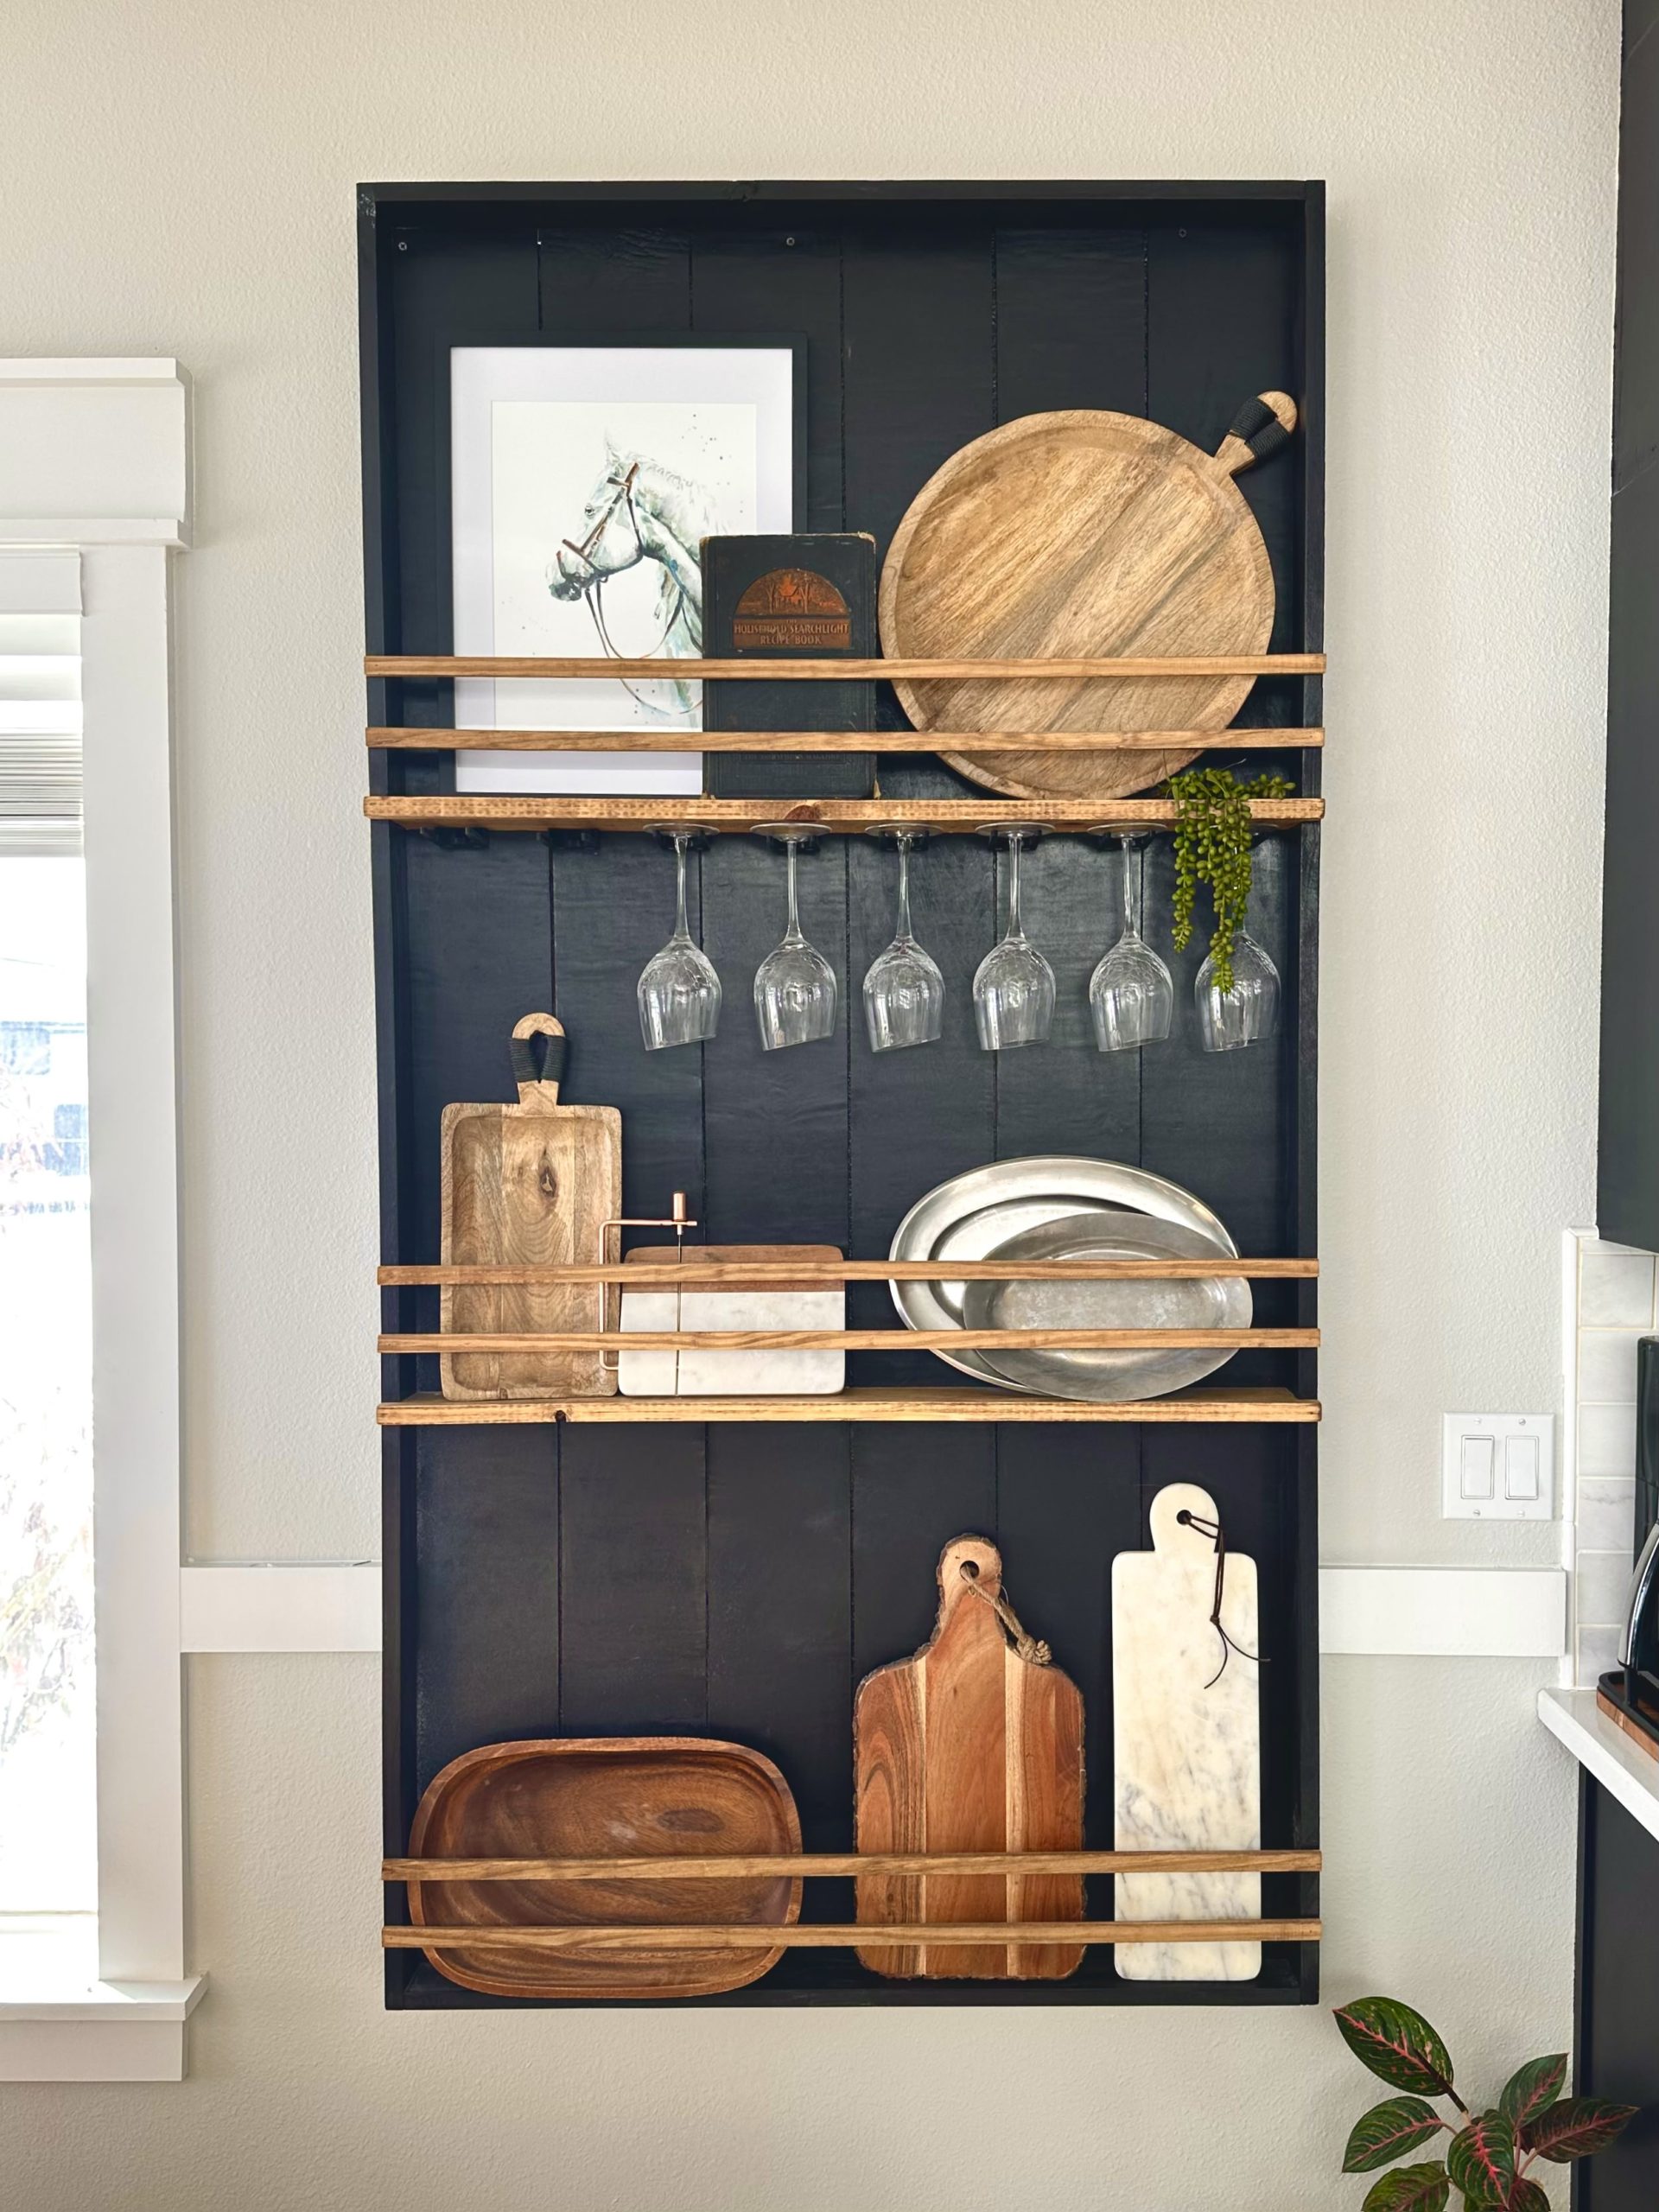
That’s when I stumbled upon this DIY plate rack tutorial by Simply Aligned Home! Plate racks have been around for a long time and are super versatile. You can use them for cook books, cutting boards, wine glasses, art, etc.! It was the perfect solution – extra storage and decorative display all in one.
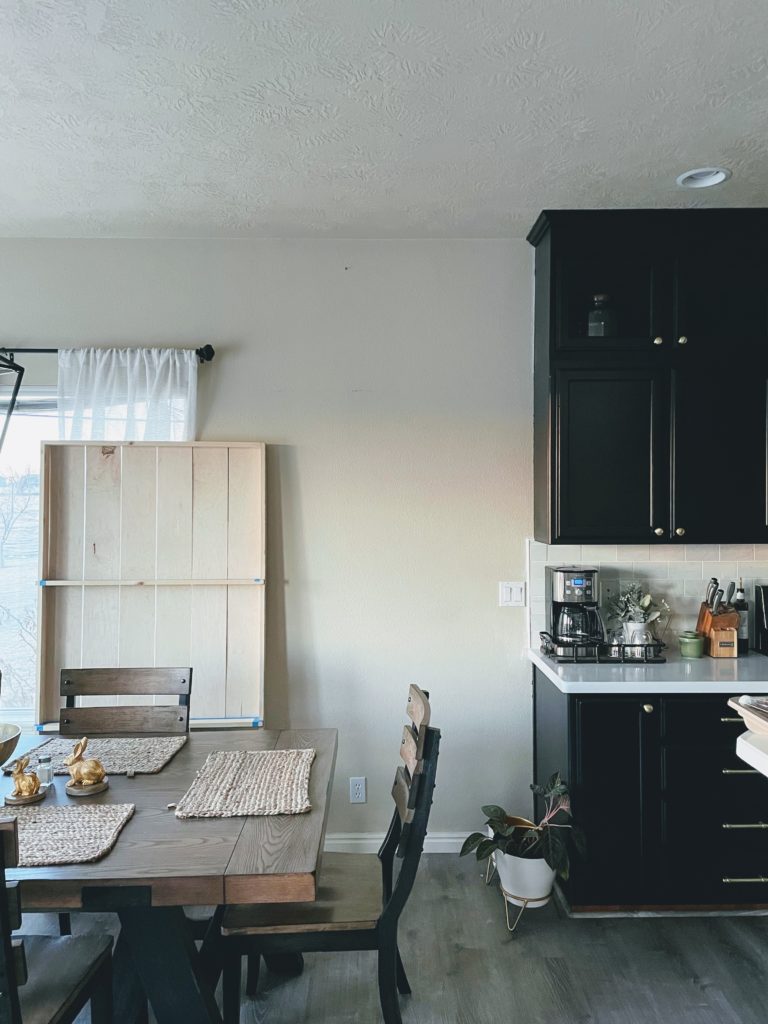
For detailed steps on how to build your own cutting board / plate rack, I would definitely recommend visiting the post linked above. I followed almost the exact same steps and used the same materials; however, I built our rack first then mounted it to the wall and added some cool wine glass holders.
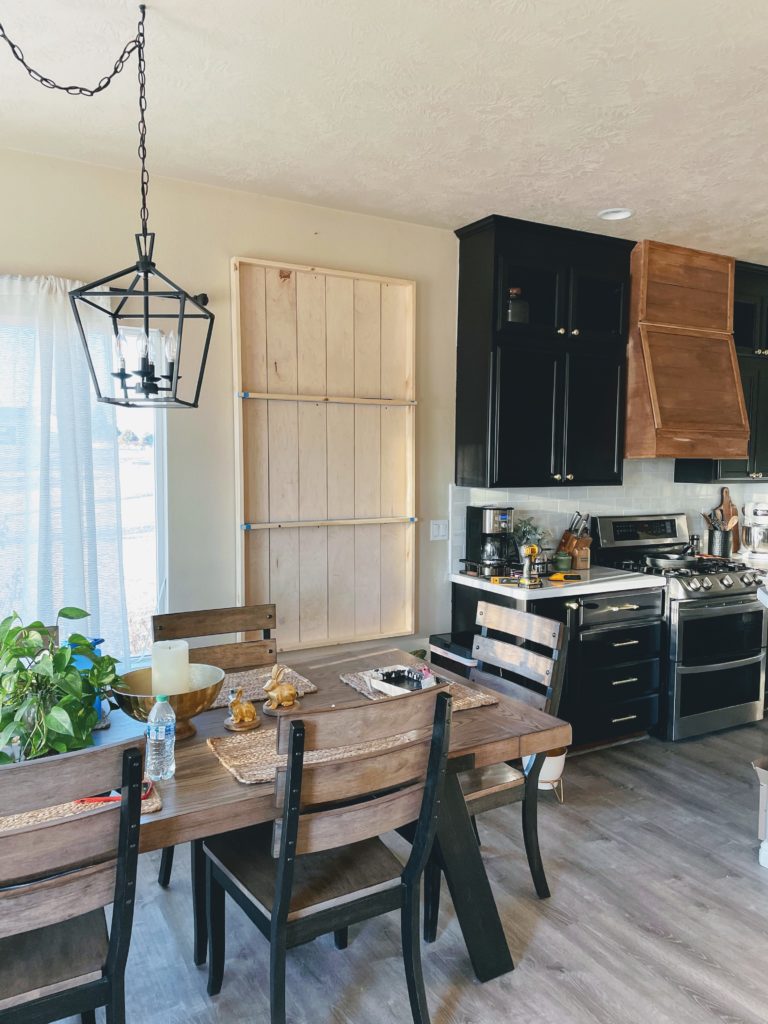
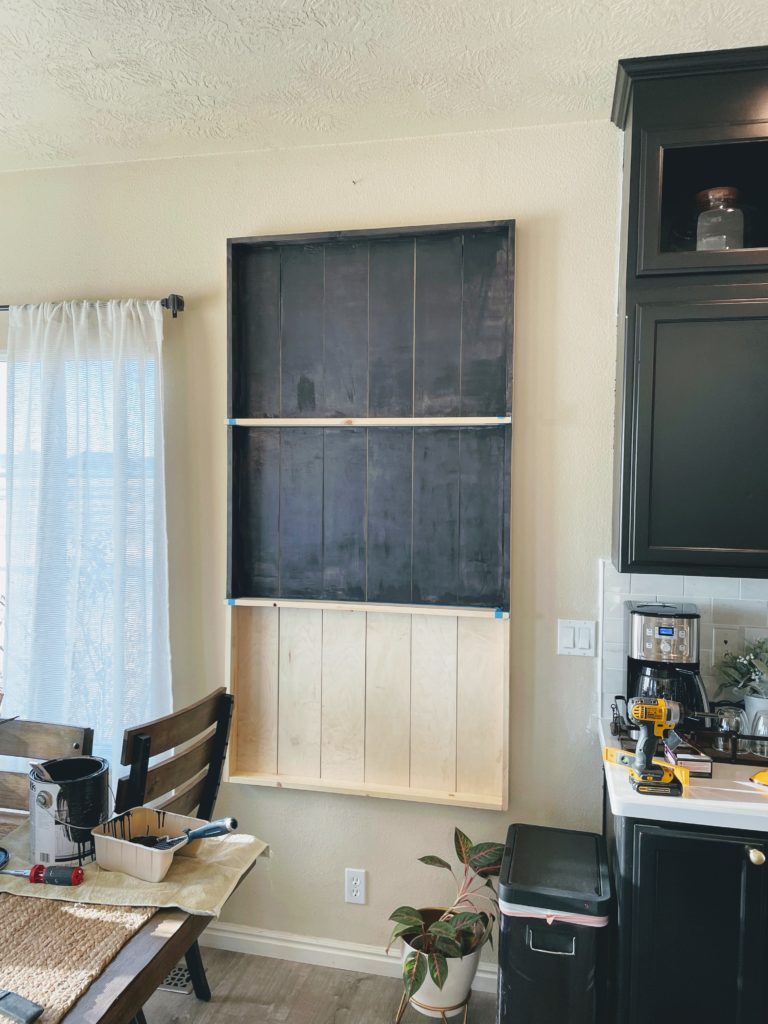
I finished the plate rack using the same paint that I used on the kitchen cabinets, Sherwin Williams 6990 Caviar in semi-gloss. If I had to do this all over again, I would definitely paint the rack BEFORE mounting it. It was a huge pain getting the paint between the little gaps in the individual slats, but it all worked out. In some places you could see the wall between the slats as well so I had to make sure I got the paint on the sides of the slats and the wall behind it otherwise it just looked funky.
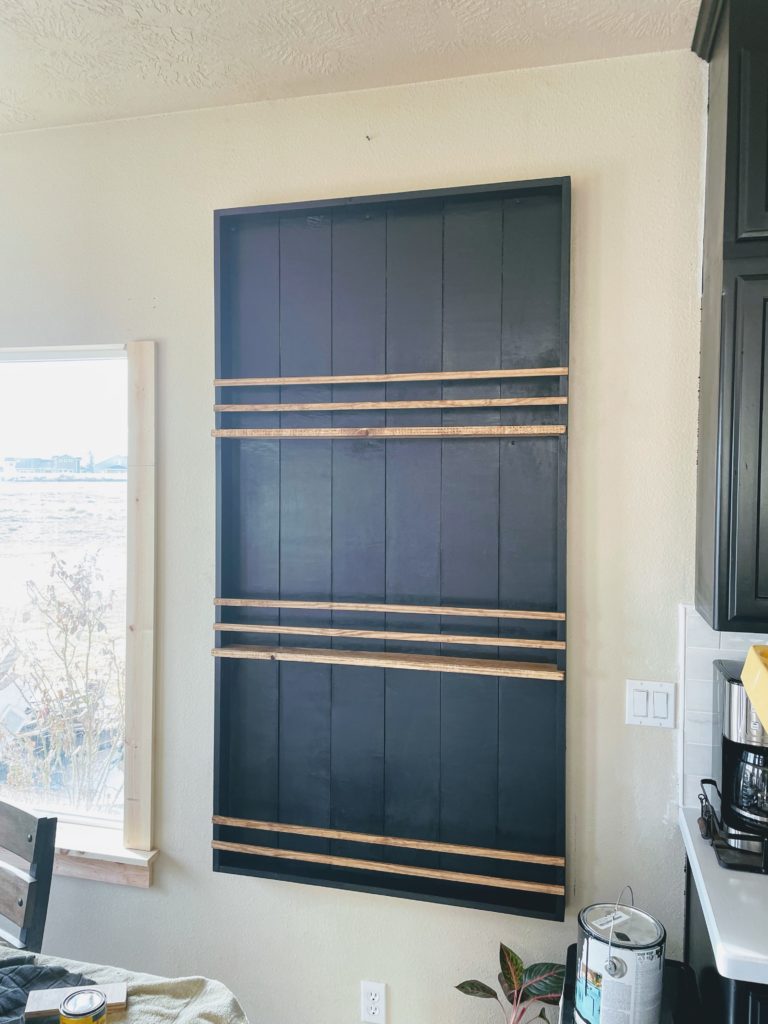
Once it was painted, I stained the shelves with my favorite stain, Minwax Early American, and nailed on the rail supports with a finishing nail gun.
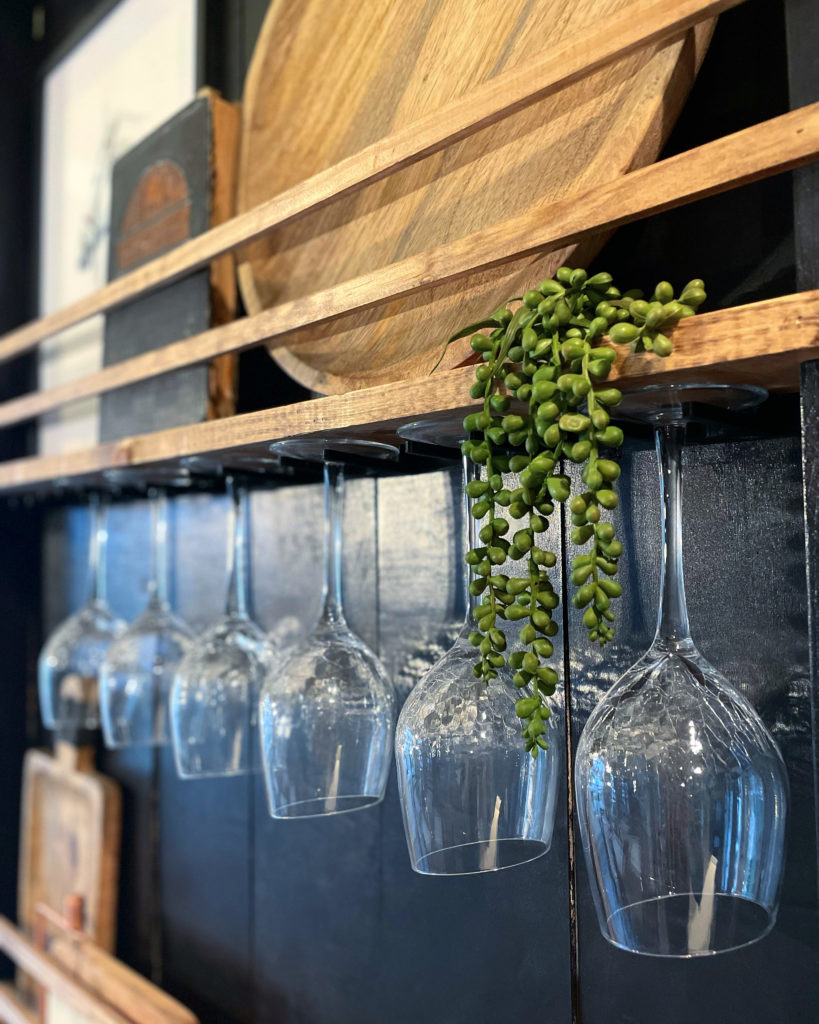
Now for the fun part! I found these 3d printed wine glass mounts to display our Pier 1 crackle wine glasses, a watercolor print from my talented friend over at Michelle Murphy Paints , and several cutting boards/trays that I had laying around. Filling the rack definitely took a lot of arranging and rearranging to get the mix of textures/heights just right and boy do I LOVE how it turned out. It’s arguably my favorite project that I’ve done to date!
