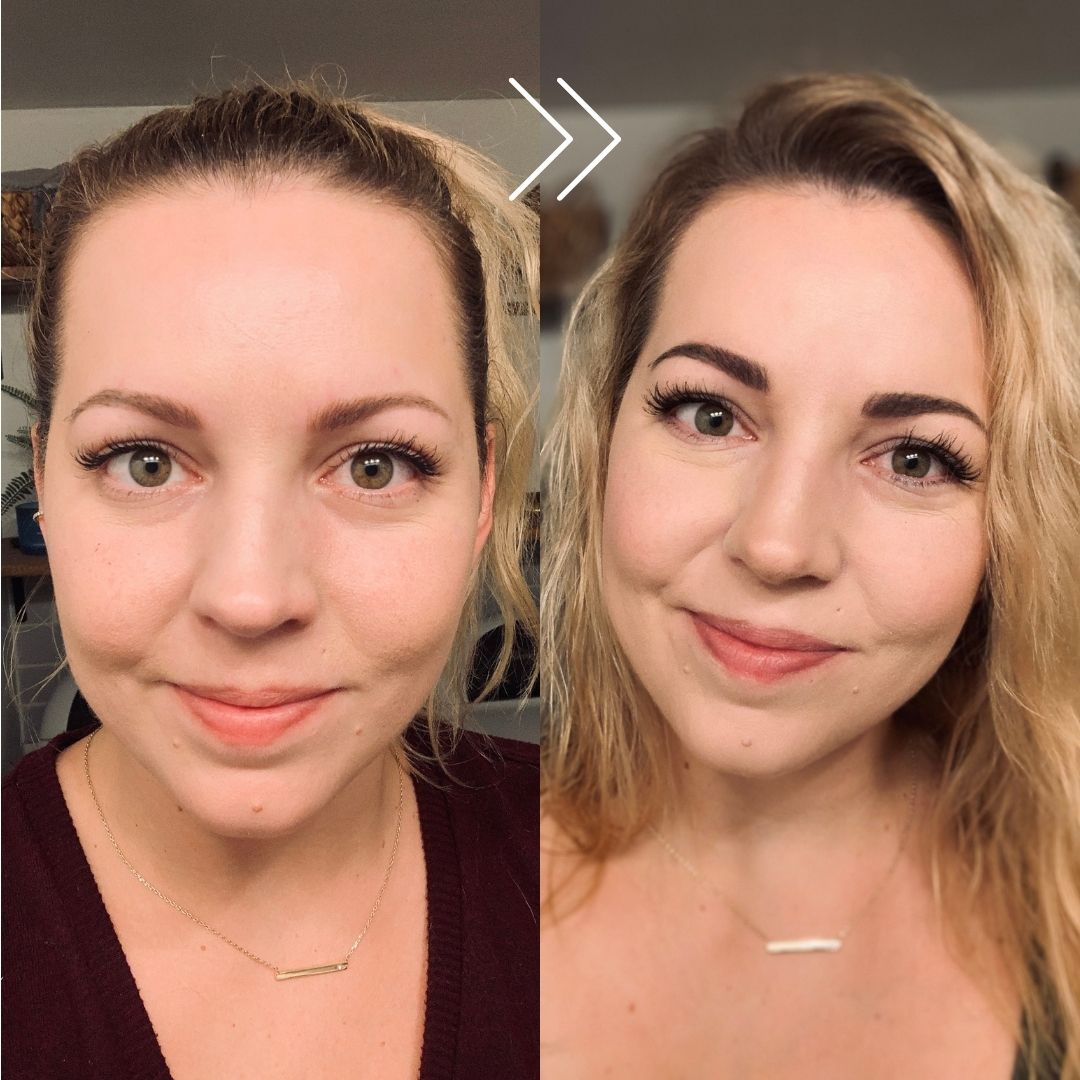
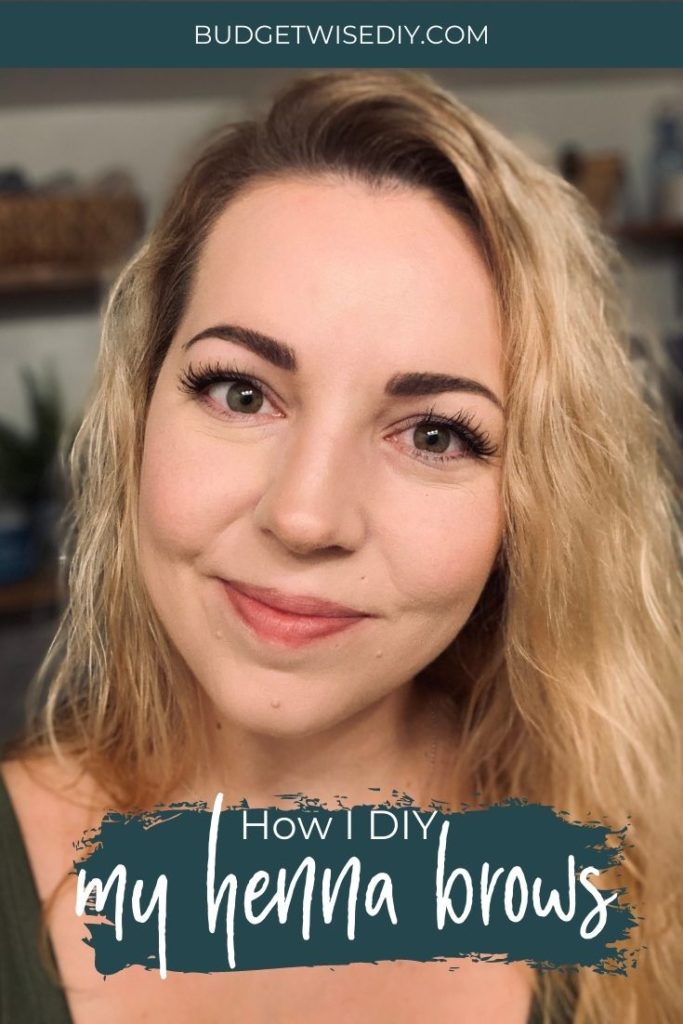
How I DIY my Henna Brows
*This post may contain affiliate links – my full disclosure statement is available here
Looking for an inexpensive way to tint and shape your brows at home? Henna is a great option as it tints your hair and also dyes your skin – leaving a shadow that make your brows look fuller and eliminates the need for makeup. Better yet, it’s natural and the results last for weeks.
I used to get my eyebrows tattooed and I LOVED. IT. But the cost started adding up quickly and I decided that the money could be put to better use elsewhere so I turned to DIY and have been pretty impressed with the results!
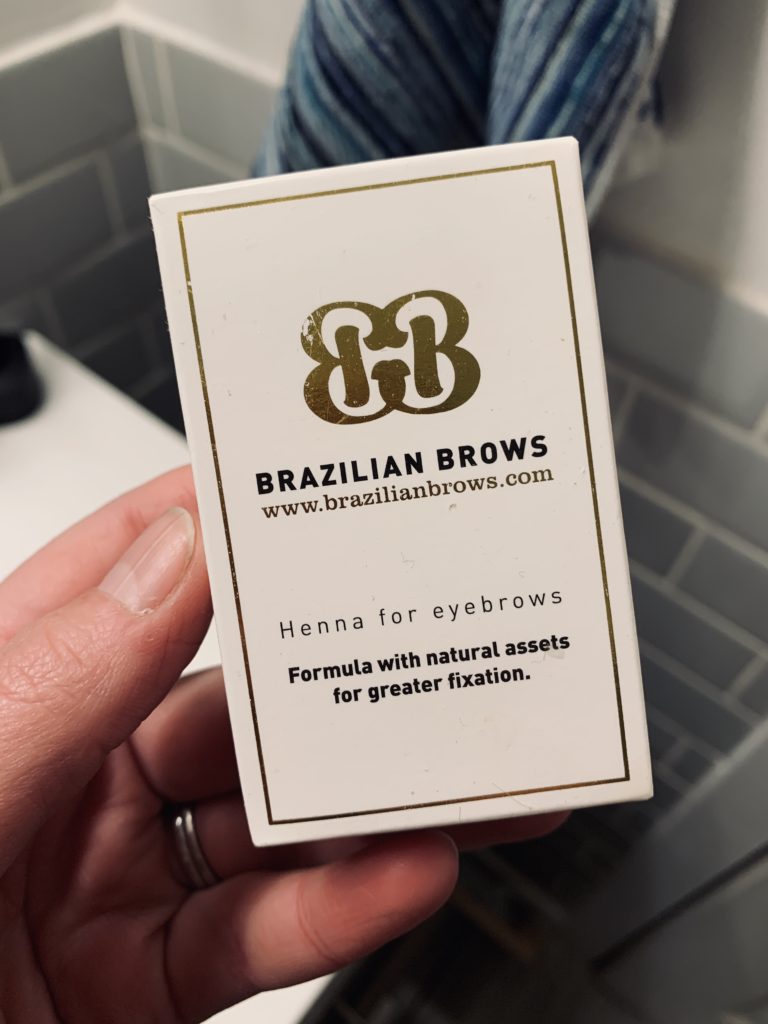
This is the henna that I’ve been using in Medium Chestnut (when I had dark hair) and now in Dark Blonde. It is super simple to mix up and doesn’t irritate my super sensitive skin.
Some henna dyes can be irritating due to amounts of p-phenylenediamine (PPD) which is a colorant used in most hair dyes so if you haven’t used henna before do a patch test before using.
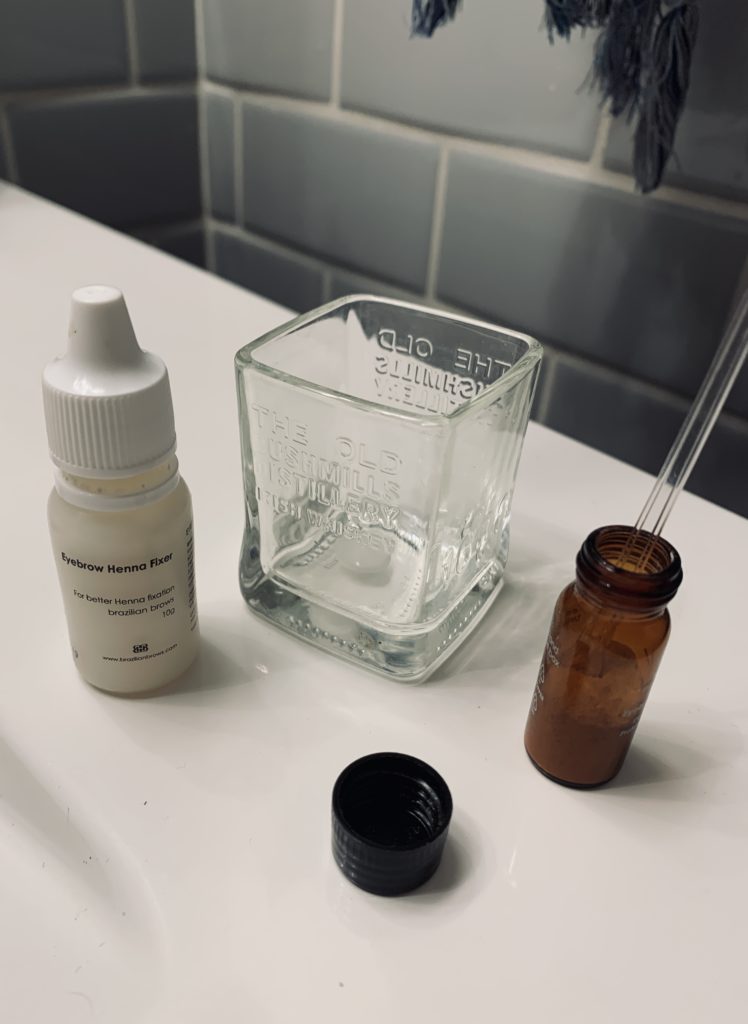
The kit contains enough henna powder and fixer for at least 30 uses – that’s $0.80 per use! Compare that to the cost of semi-permanent and permanent brow services and it’s silly cheap.
What the kit doesn’t come with is a container to mix the henna in (metal or glass is ideal) and an applicator brush. I’ve found that an angle liner brush like the one below works best.
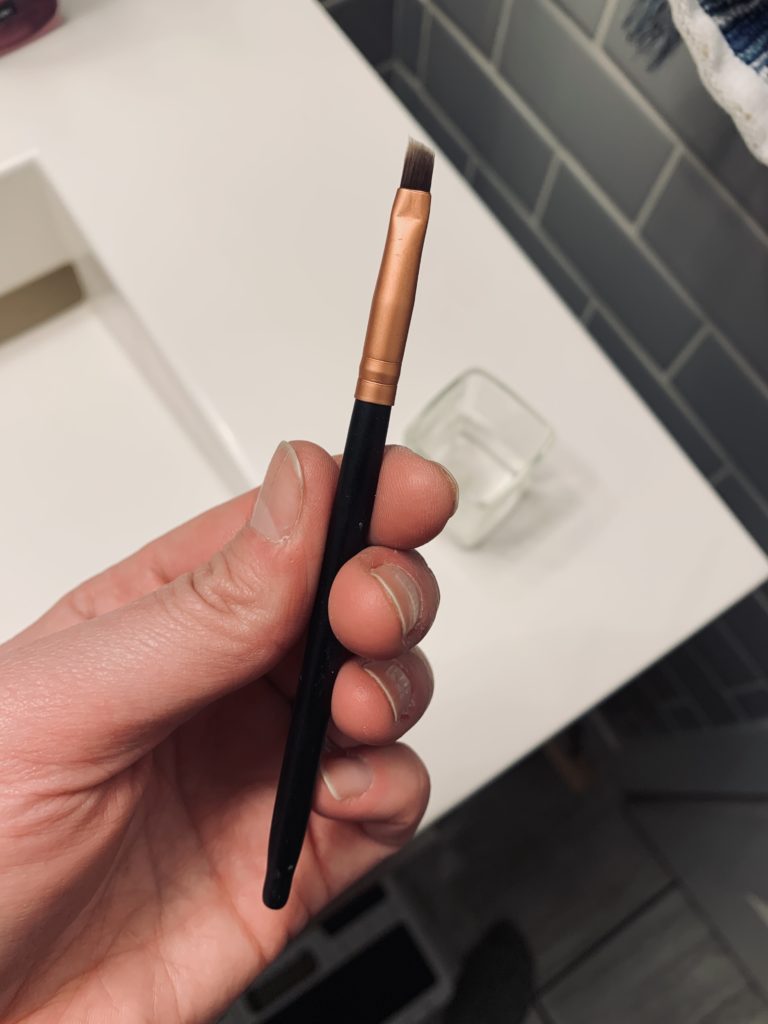
1. Mix your henna according to the product instructions
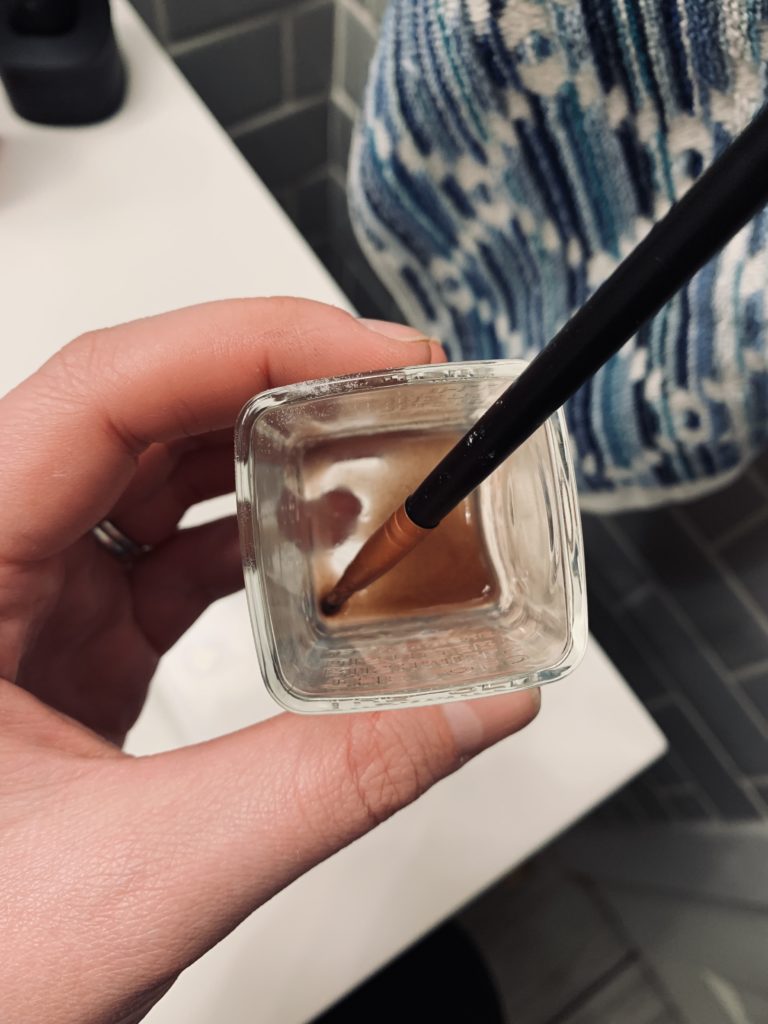
If your instructions call for water – use mineral water for the best results (filtered water will also work in a pinch). As you mix the henna it will start to darken…and darken some more. Don’t be scared! It will look much darker in the container and on your skin than it will when you remove it.
2. Outline your brows
Make sure your brows are freshly cleaned and exfoliated before you get started.
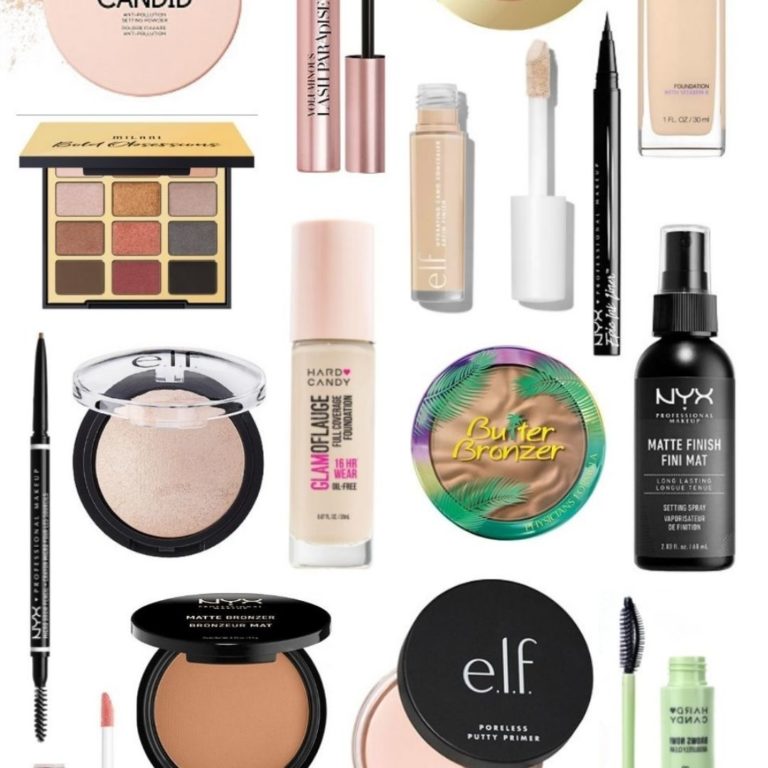
Using a white eyeliner pencil, outline your brows staying slightly outside where you would normally apply your brow makeup. If you make a mistake, use a cotton swab or disposable lip brushes (I use these) to remove the liner and redraw your line(s).
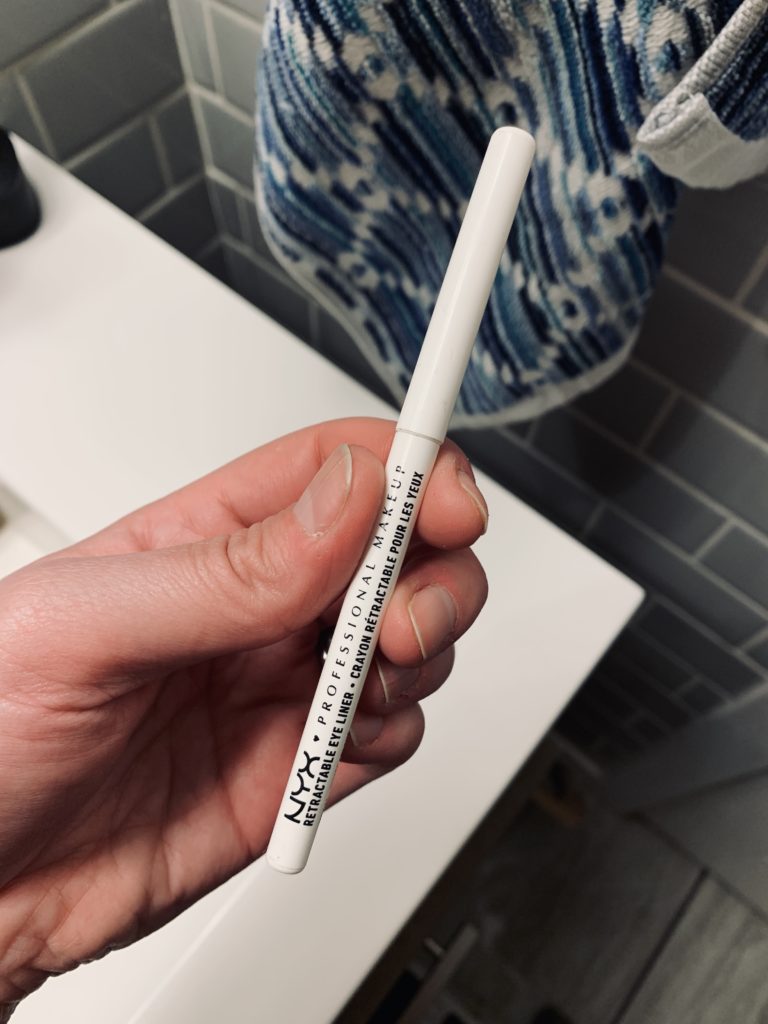
If you are unfamiliar with brow shaping, there are a ton of brow mapping guides out there for your reference on Pinterest. I just wing it based upon how I draw my eyebrows in and reapply the henna if I’m not happy with the results the first time around.
Before henna:
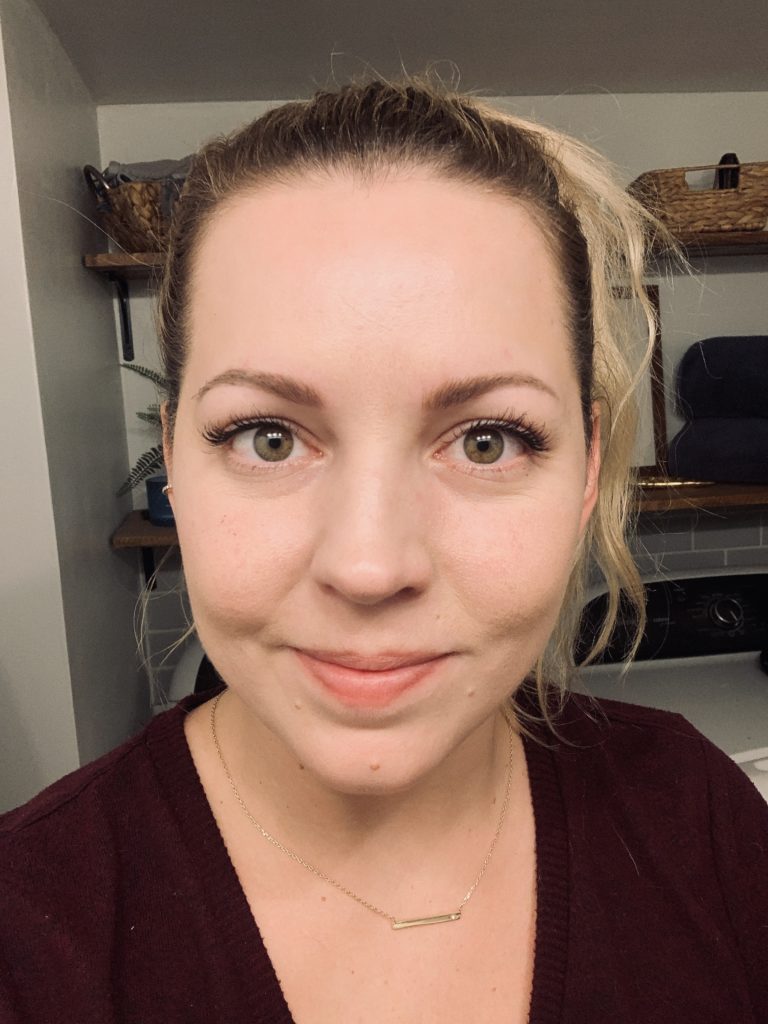
Get ready for some serious Oompa Loompa vibes…
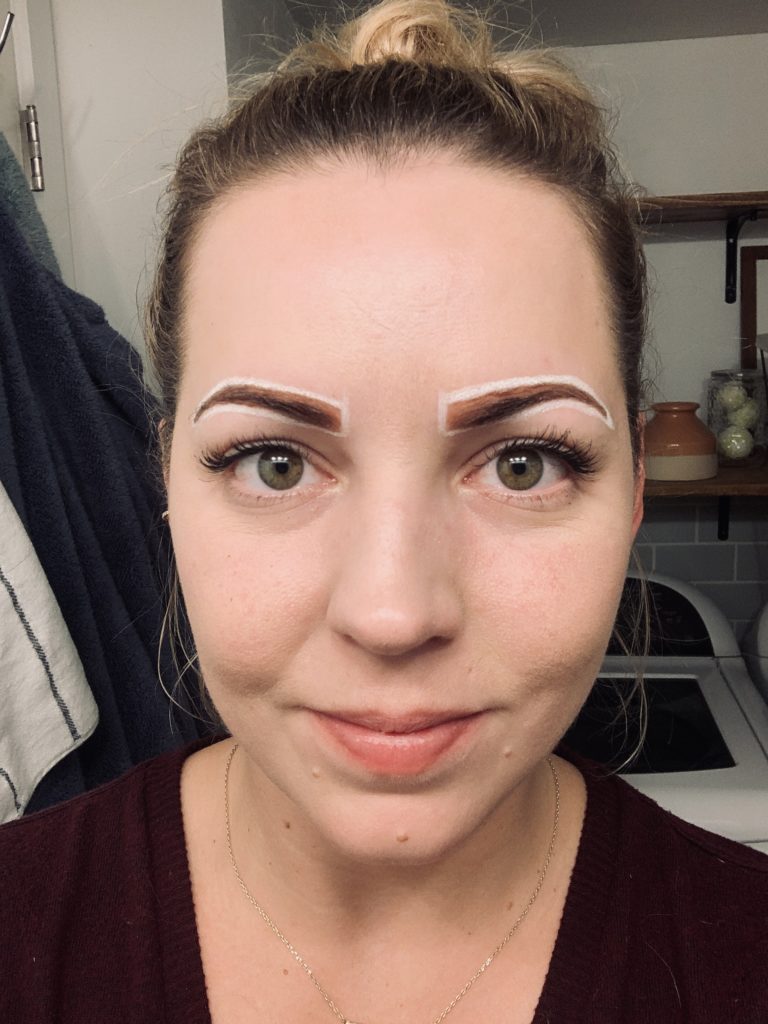
3. Apply your henna paste
Using your angle liner brush, apply a thin layer of henna to your brows. Let it sit for 5-10 minutes and then add another layer. The longer you let the henna sit, the darker the color will be. I tend to like my eyebrows a little darker so I leave the mix on for about 20-30 minutes.
To create an ombre effect, you would put your first layer of henna on from about the mid brow to the tail, then follow up with another layer on the entire brow.
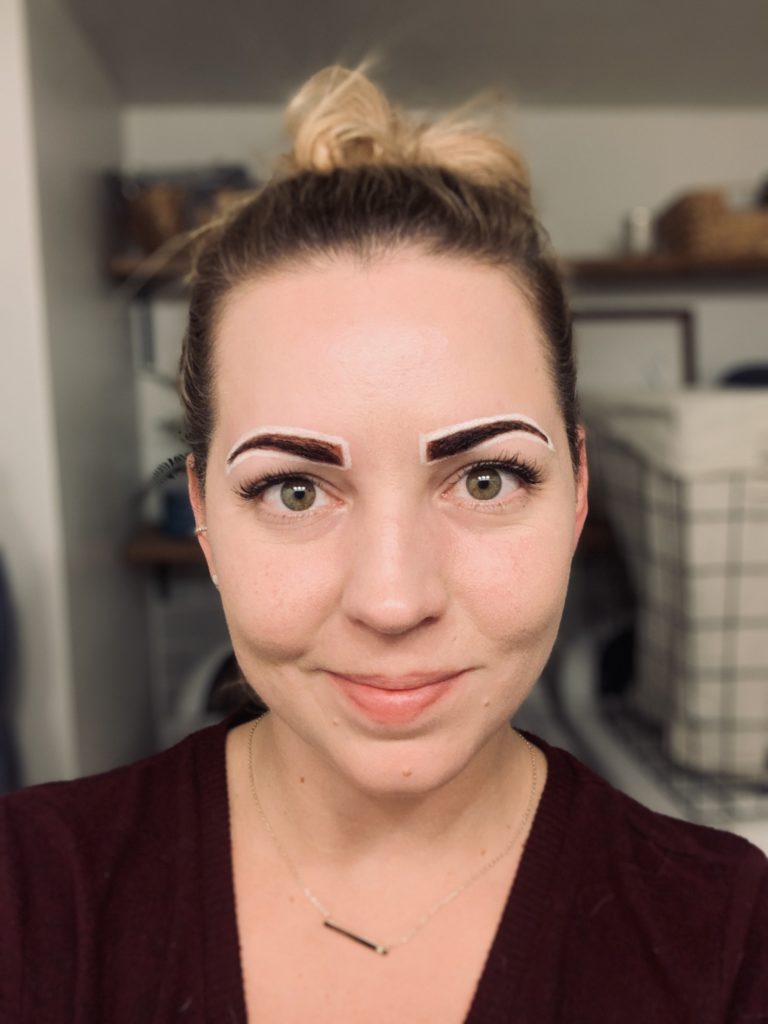
4. Remove the henna
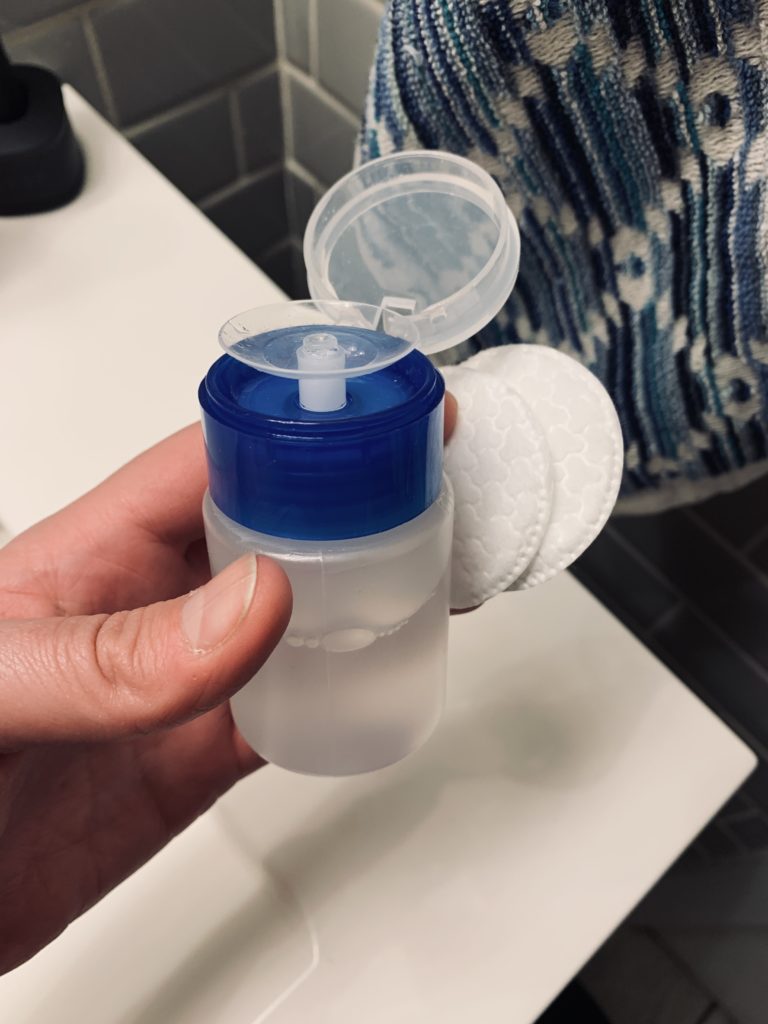
Gently remove the henna using cotton pads and micellar water. Your brows should be lighter than the paste; however, the color will deepen and continue to develop slightly for the next 24-48 as the henna oxidizes before it starts to fade.
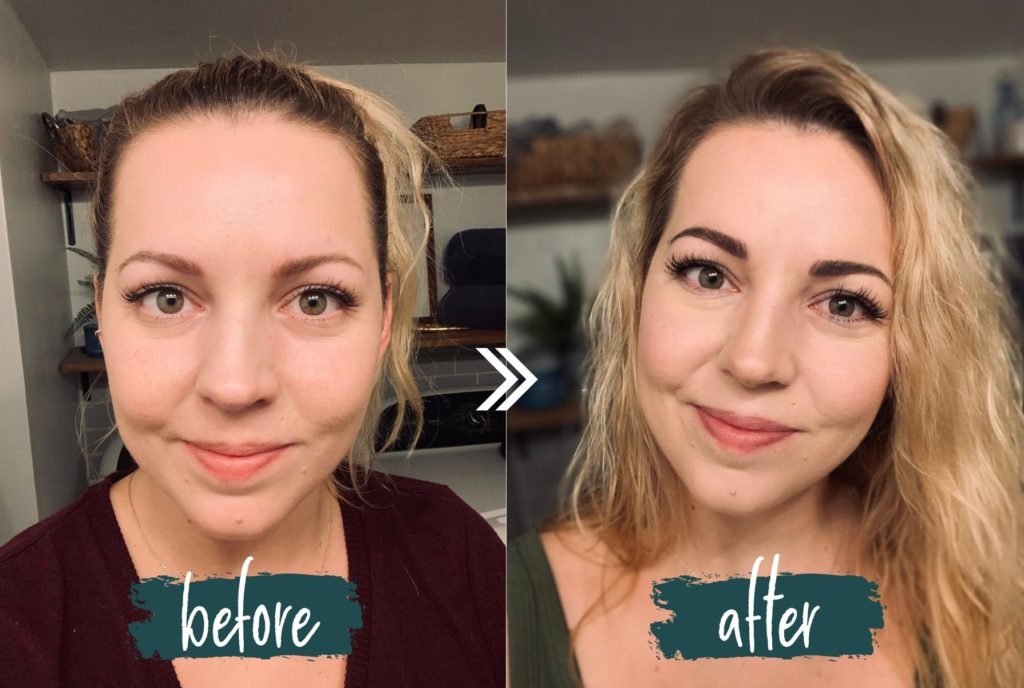
And just like that…BAM! New brows for a fraction of the cost of professional services. With proper care (no scrubbing & avoid with retinol/exfoliants) your brow color should last for about 2-3 weeks.
Got questions? Leave them below!


