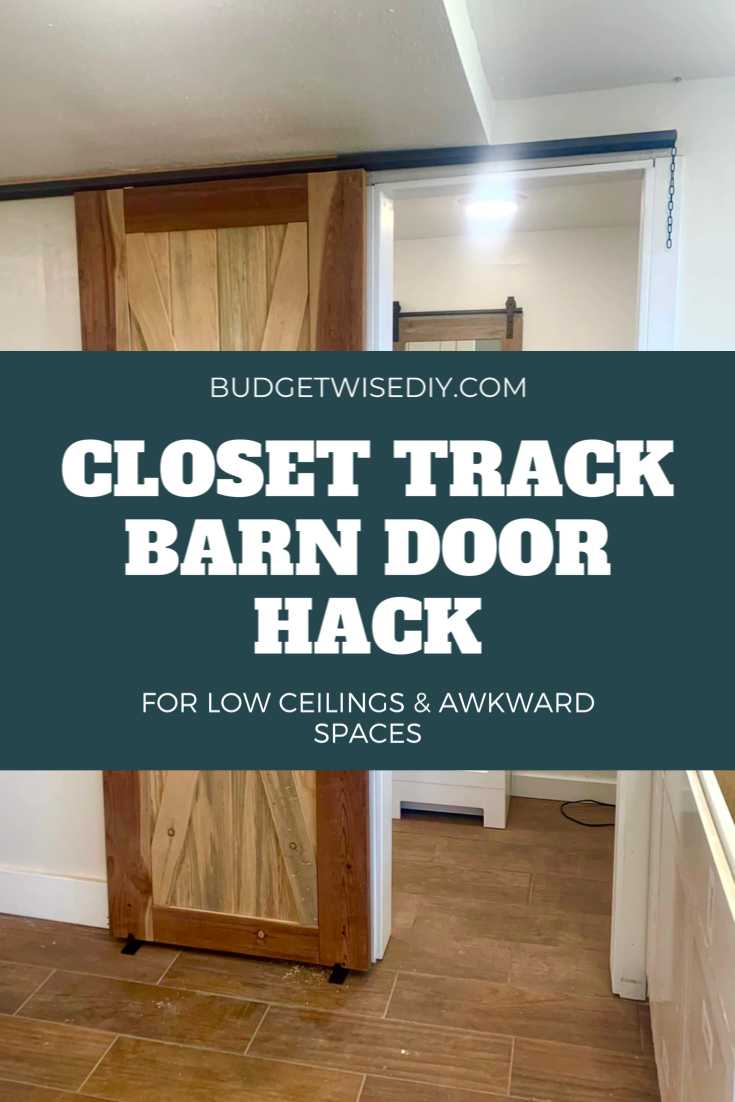
Low Ceiling Closet Track Barn Door Hack
*This post may contain affiliate links – my full disclosure statement is available here
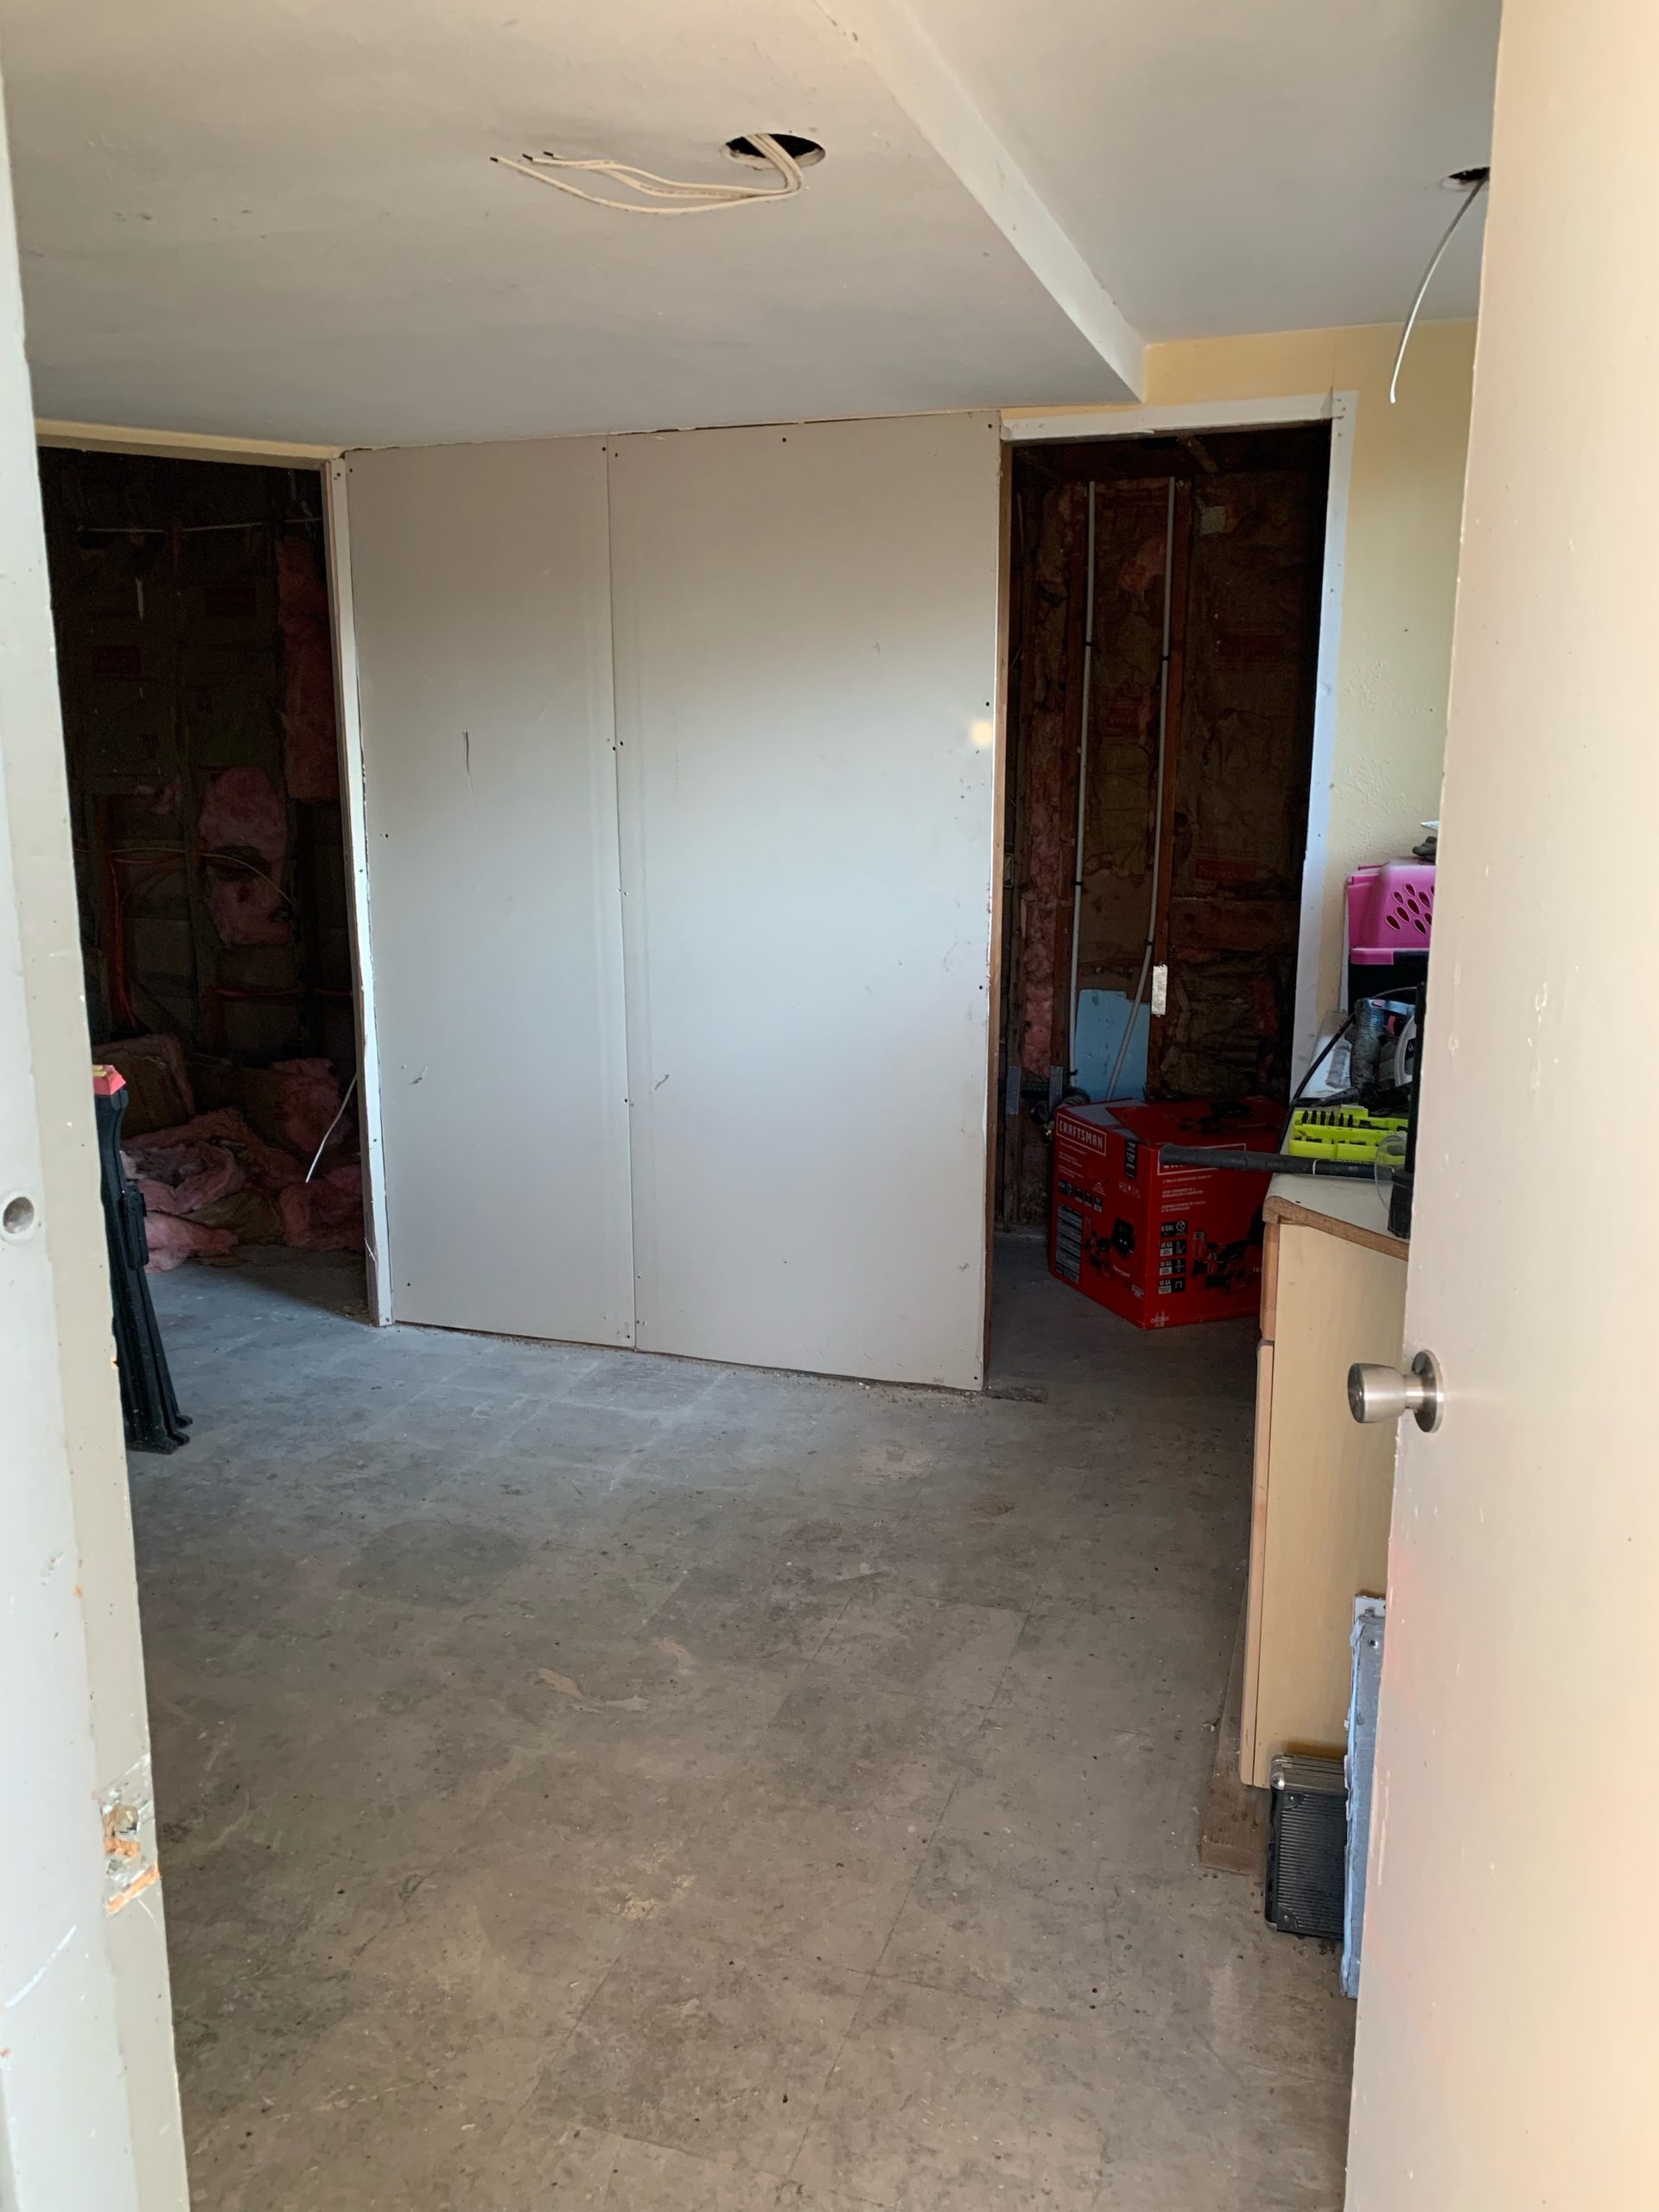
While renovating our shop, we ran into this fun little situation with the bathroom doorway… 1) It’s an abnormal size and totally not square, 2) there is zero room for a pocket door, and 3) the ceiling is LOW due to the loft above so traditional barn door hardware was out of the question.
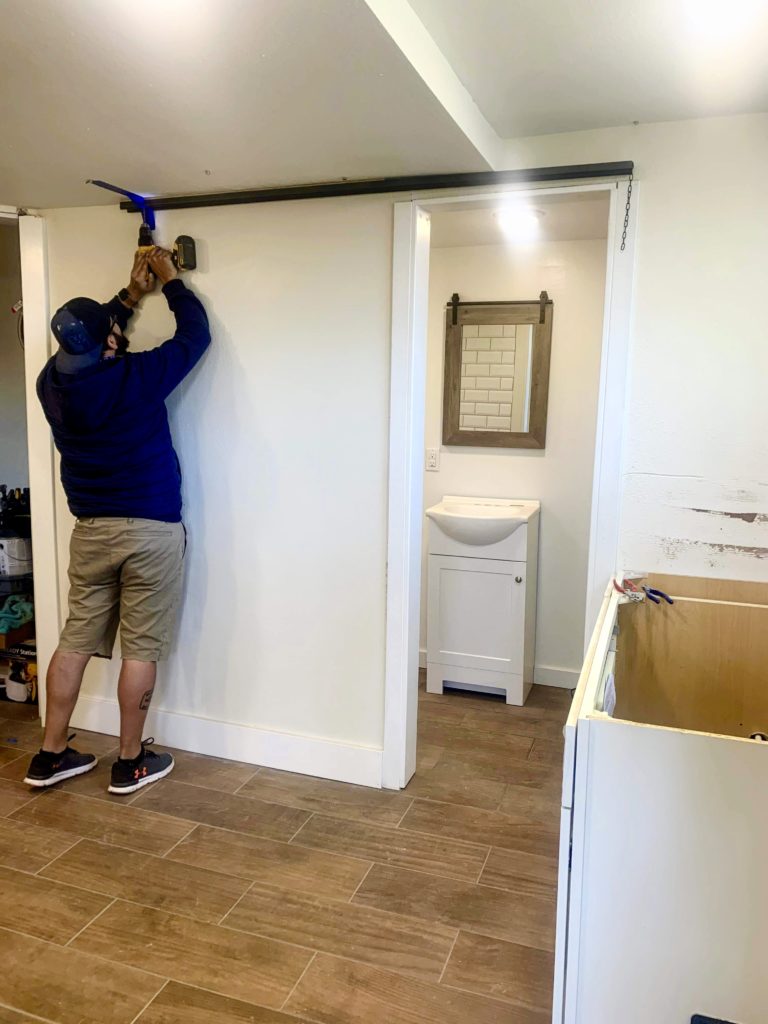
In hindsight, we probably could have just reframed the doorway, but this project ended up turning out super awesome. We decided to go the barn door route and snagged a gorgeous custom made door for a steal ($100!!!).
We knew we wanted the hardware to take up as little space as possible and we didn’t to break the bank so we came up with this solution:
By-passing Closet Door Hardware
Yup, closet door tracks painted with my favorite spray paint. Seriously, this stuff has the best metallic bronze finish and is my go-to for giving steel a makeover.
The track rang in at about $30 at Lowe’s, but you can pick one up on Amazon for $36.

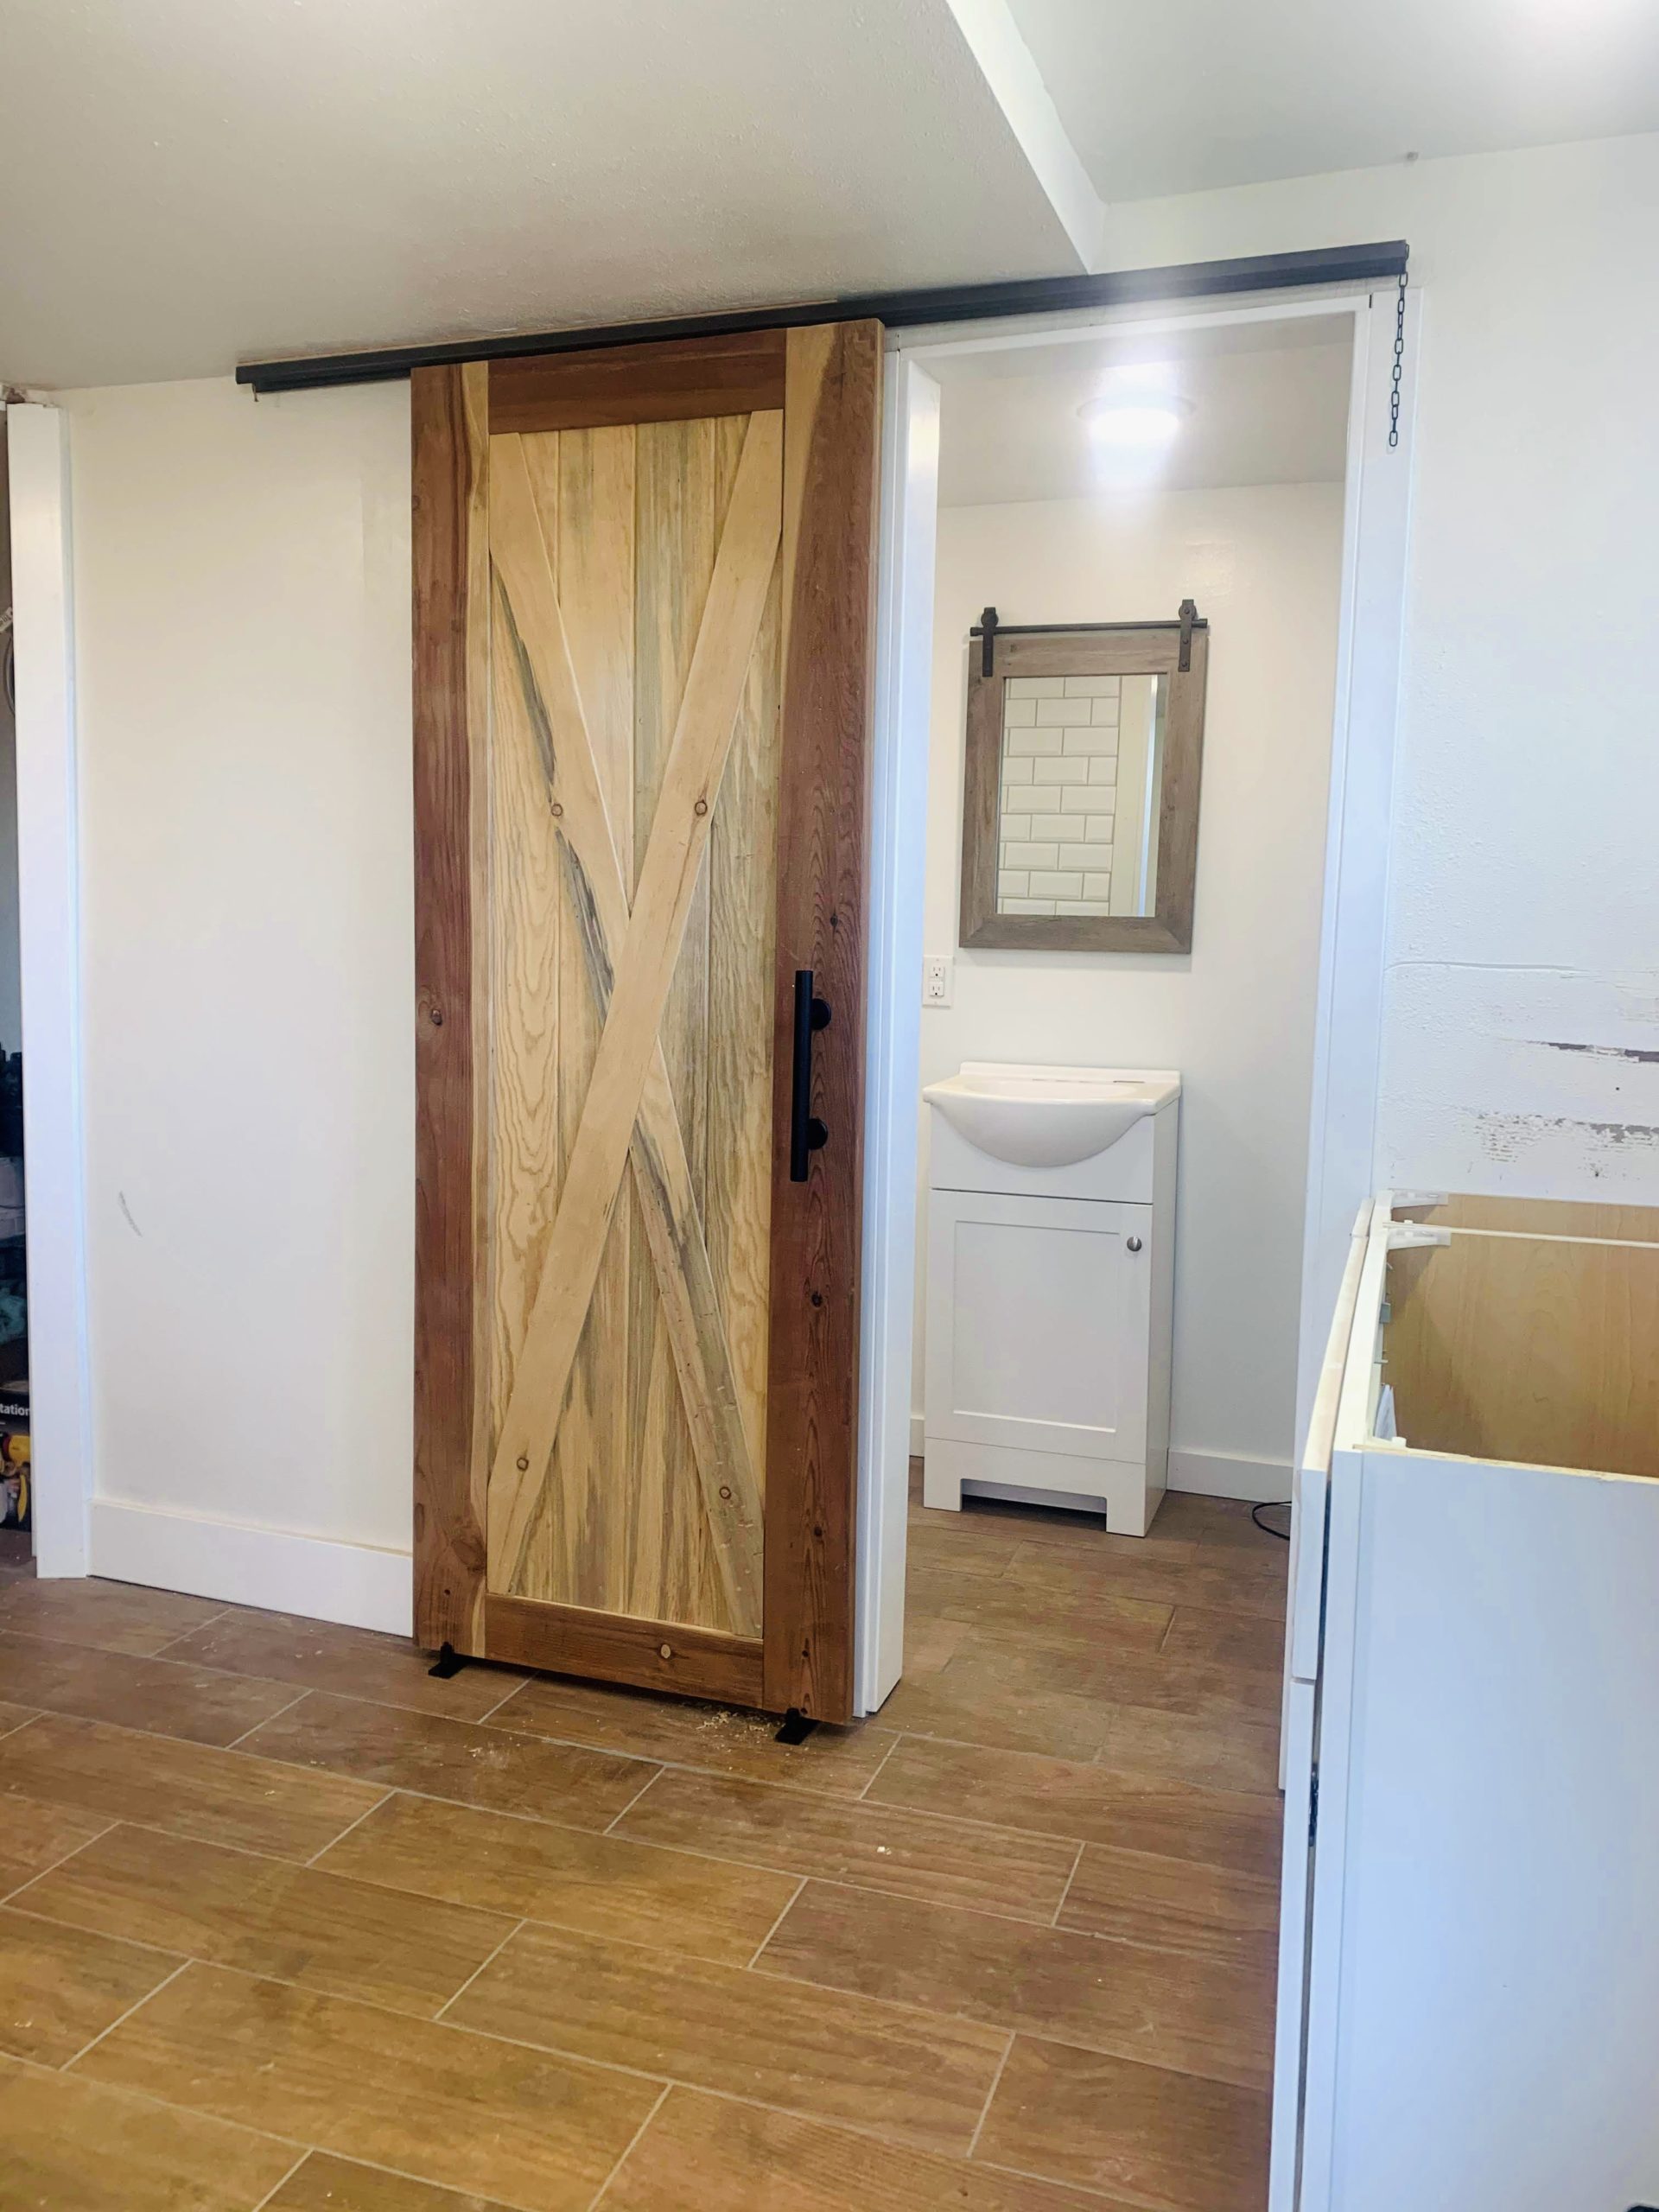
Once the paint dried, we mounted the track on the ceiling. Then we attached the hangers to the backside of the door and slid it on the front rail of the track. Voila!
See that annoying elevation change in the ceiling?…we’ll get to that.
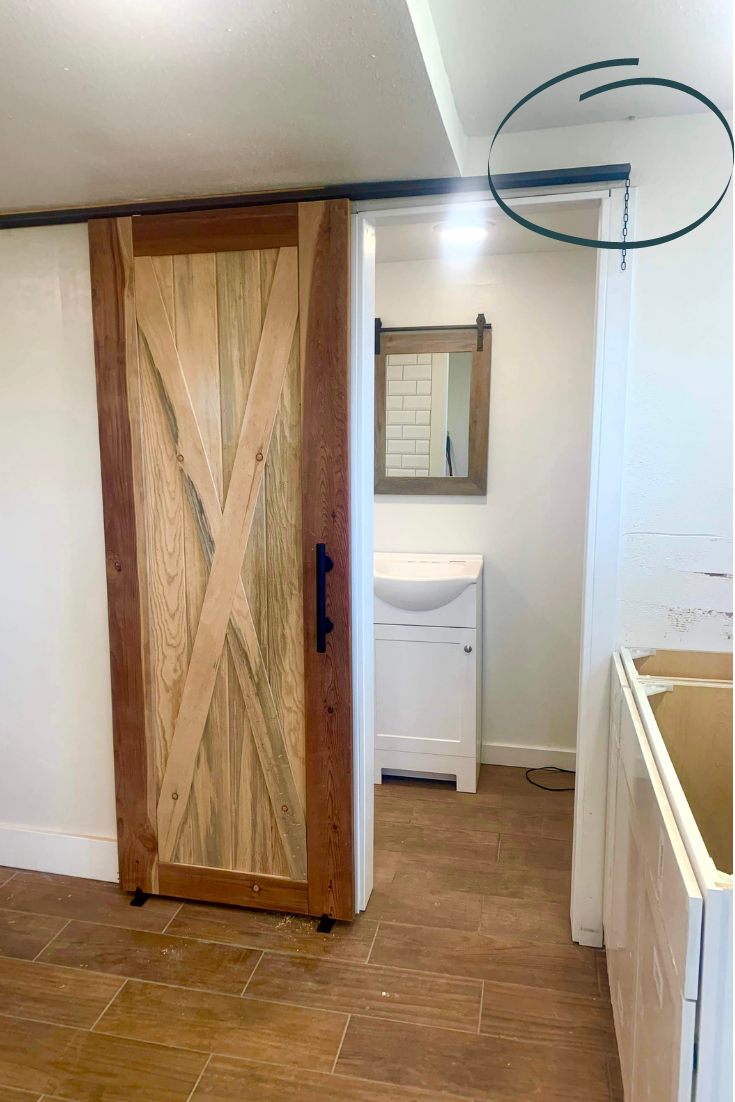
We used the hardware linked below for the door – the quality of both the barn door handle and floor guides is awesome for the price. They are heavy, solid steel, and iron pieces that look way more expensive than they actually are ($16.89 & $17.99 what?!)
12″ Sliding Barn Door Handle

Barn Door Adjustable Floor Guide Rollers

Now to deal with the end of the rail that was “floating” because of the uneven ceiling…
Luckily there was a stud right above it so we ended up using a piece of chain that we had lying around (painted with my favorite spray paint) and this heavy duty eye bolt to give it some support.
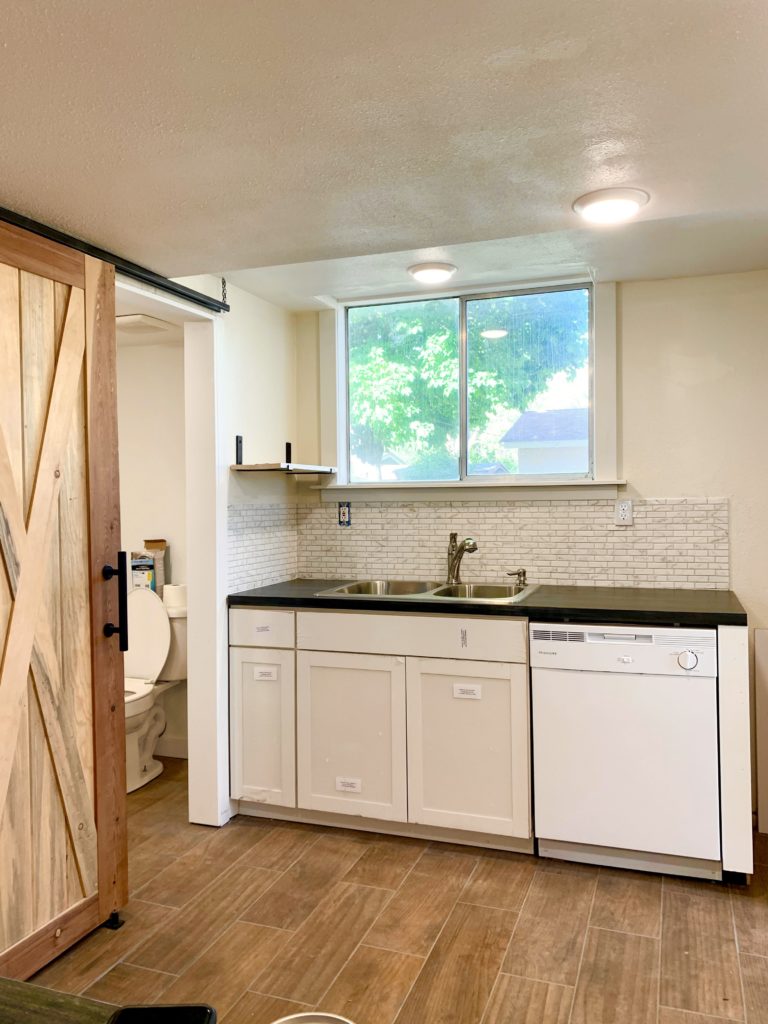
This project cost about $167 total ($100 for the door and $67 in hardware) and the door gave the space so much character! Now to add the cabinet hardware, some trim, and shelving and the kitchen will be finished.
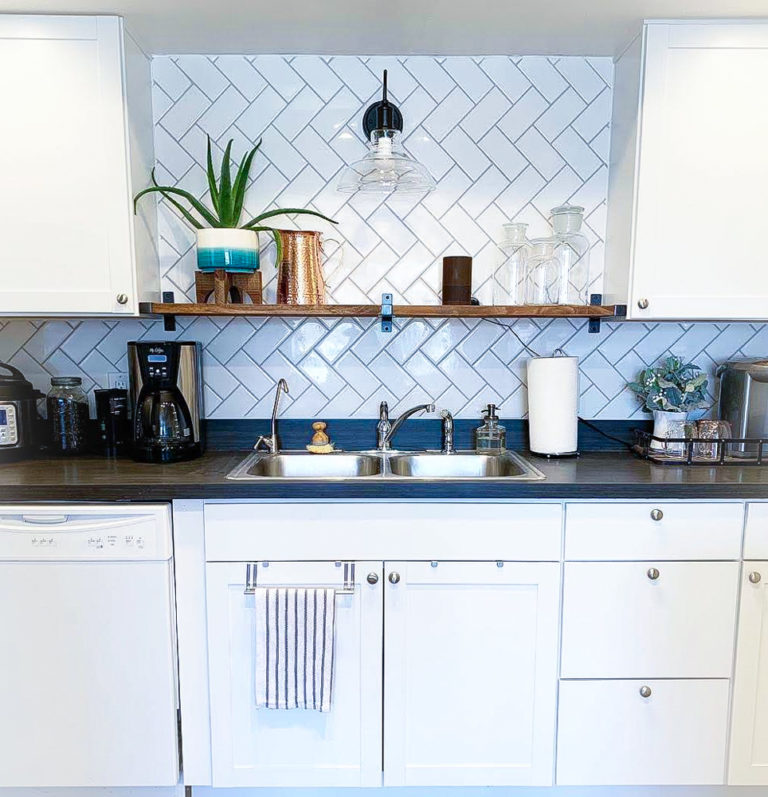
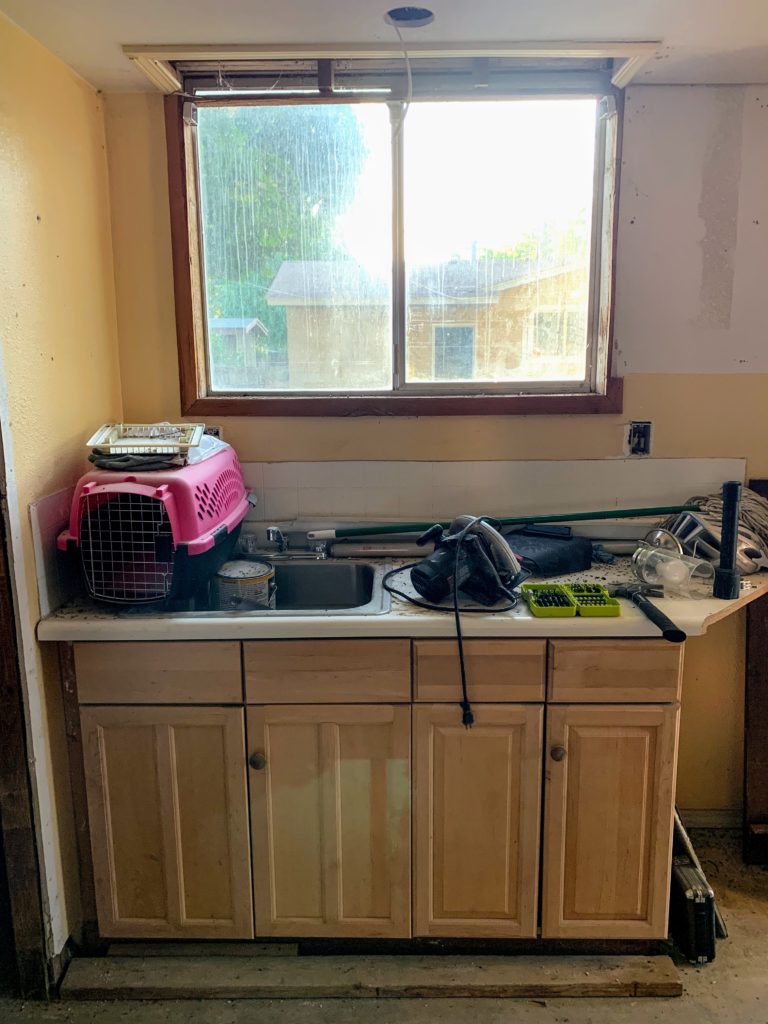
I’ll be sharing the full before & after soon, but until then here’s a peek of the transformation.

Have questions or want to share your awkward structural solutions? Drop a comment below!


